Showing posts with label garden bed. Show all posts

Wednesday, 25 October 2017

Sunchokes, corn and garden beds

There's been jerusalem artichokes growing in a garden bed for the past four years or so, but mostly they're given away.  The grass grows over them in the dormant seasons, but they've just started to sprout again.  It's been a goal to dig them up and replant maybe eight or so of the best in a different garden bed, clearing this one out.

2017-10-22 - 01 - Progress - Sunchokes
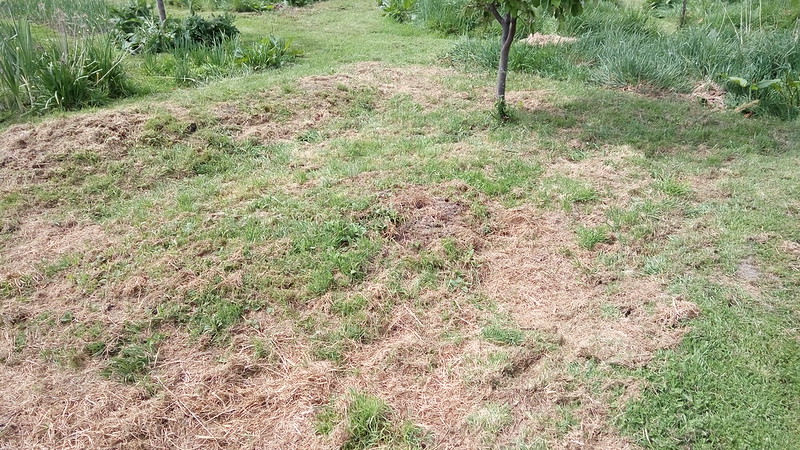
Uncleared jerusalem artichoke bed
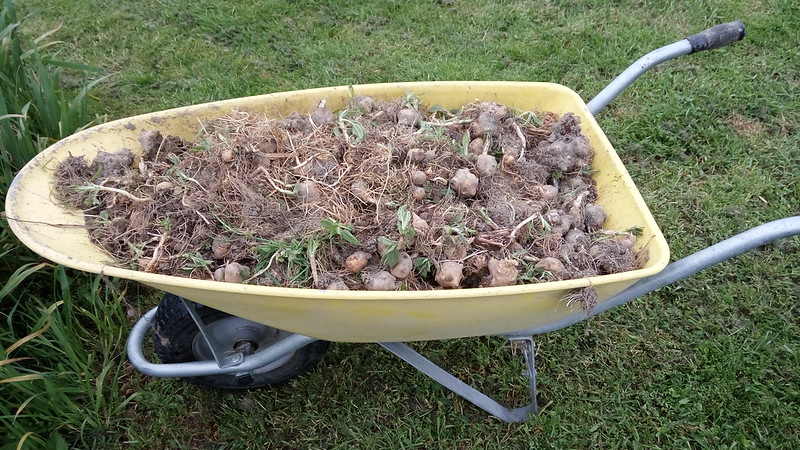
Here's the results of the bed being cleared out.  A full barrow load of jerusalem artichokes.  The problem is that if they're dumped in the compost, or for that matter, anywhere out in the paddock, they'll probably come back.

2017-10-22 - 04 - Progress - Sunchokes
Unwanted sprouting jerusalem artichokes

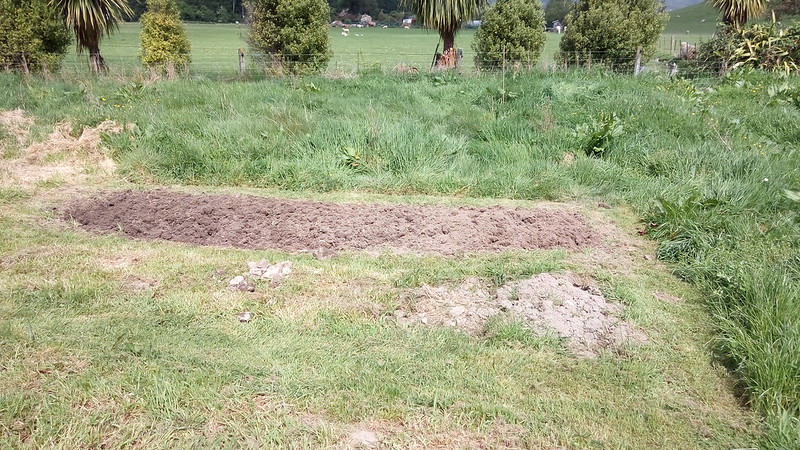
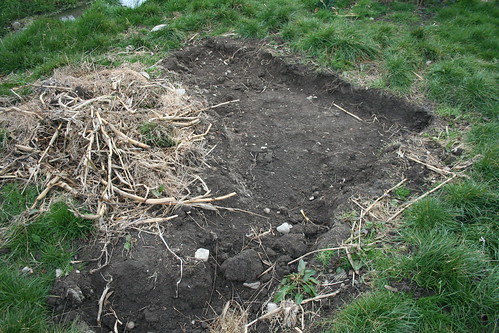
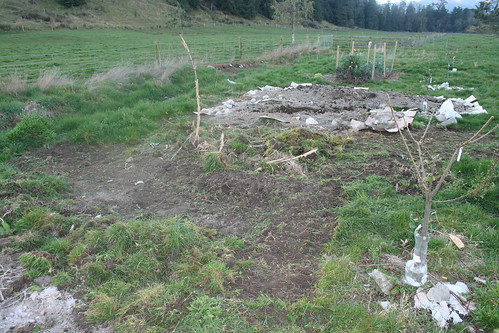
This bed along with the two more closer towards the camera, were used for garlic last year.  The small patch to the right in front of the freshly cleared and dug bed at the back, was used for yams.  The rest of it was also cleared yesterday, which just leaves the one right at the bottom of the shot to be cleared.

2017-10-22 - 02 - Progress - Sunchokes
Freshly cleared bed
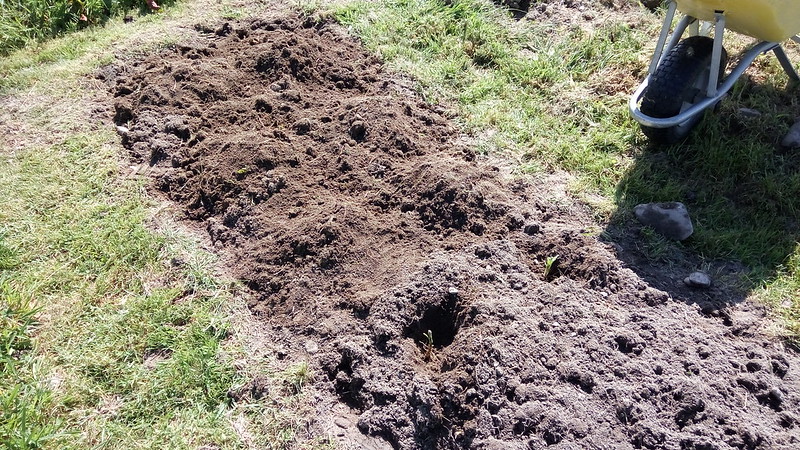
I read about someone else who replants their sunchokes, or jerusalem artichokes, at about half a meter apart or some similar distance.  Eight of the best ones I dug out have been replanted at the West end of this bed.

2017-10-22 - 03 - Progress - Sunchokes
Eight replanted jerusalem artichokes
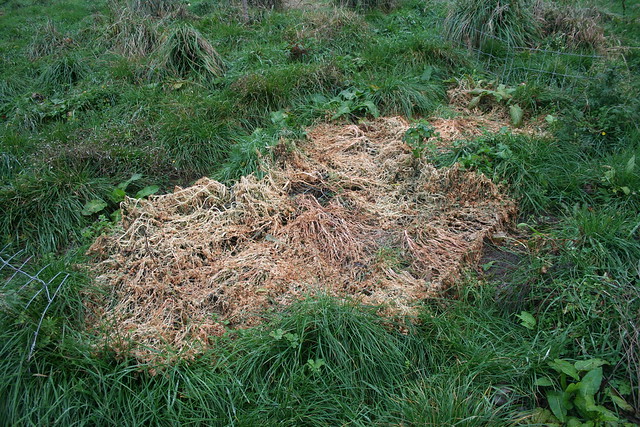
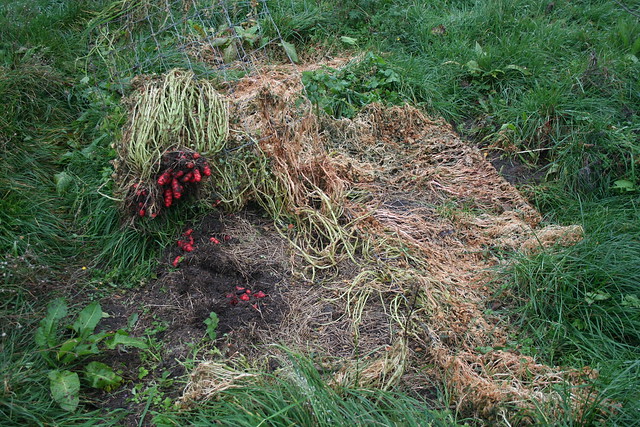
It took a while to work out what to do with the jerusalem artichokes, and leaving the barrow out in the weather didn't seem very effective.  So an old bit of iron left out in the sun will hopefully do the trick.

2017-10-25 - 01 - Progress - Killing sunchokes
Killing the jerusalem artichokes
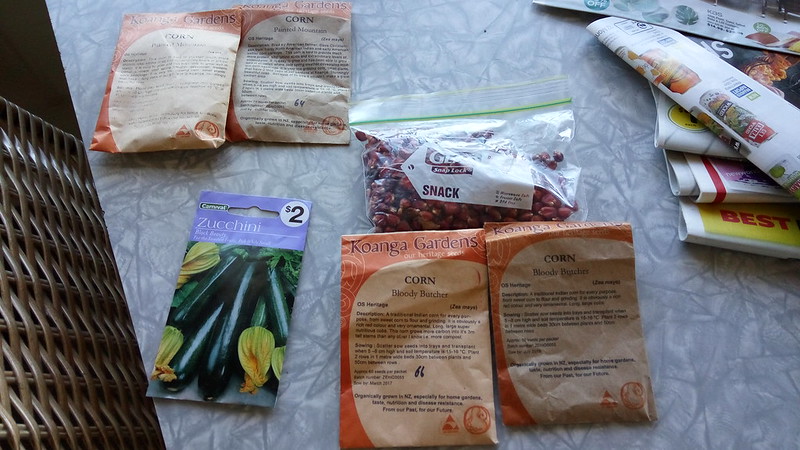
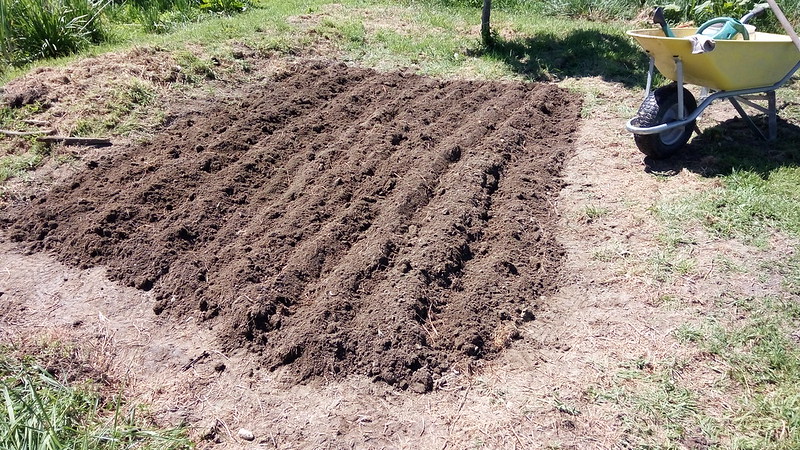
The jerusalem artichoke bed was dug out further, and for some reason the idea of planting corn was quite appealing.  While this bed is going to be used for Bloody Butcher corn, another is going to be used for Painted Mountain.

2017-10-24 - 05 - Progress - Corn
Corn seed
As some of the Bloody Butcher seed is quite old, it was sowed quite thickly.  It's easier to thin it out later, than to plant more.

2017-10-24 - 06 - Progress - Corn sowing
Cown sowing
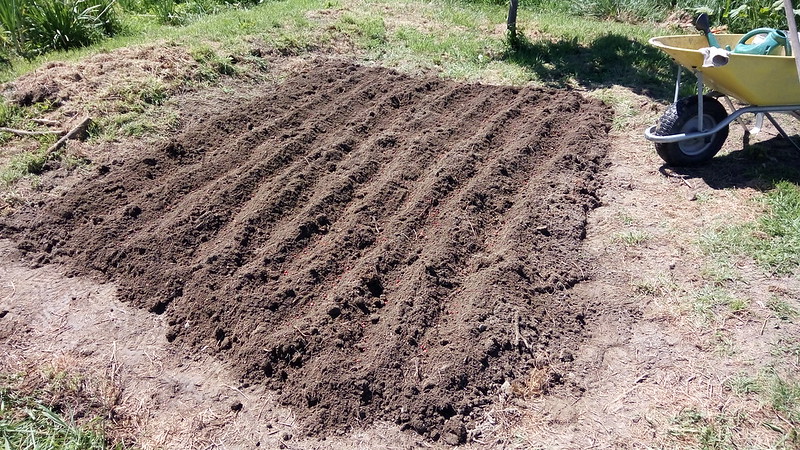
And finally, covered up.

2017-10-24 - 07 - Progress - Corn bed
Corn beds
Next on the agenda are tomatillos, the Painted Mountain corn and brocolli.

Sunday, 19 June 2016

Yam harvest - Winter 2016


There have been a few frosts and the yams have died back, so it's time to start harvesting before the grubs eat them all.  Last year's harvest was a debacle and the grubs got most of them.

I planted late in January, as I had read that they don't really start growing until late anyway.  Previous years I've put them in, in the Spring.  But it doesn't seem necessary.  I can't find the photos on flickr, so labelled and uploaded them.

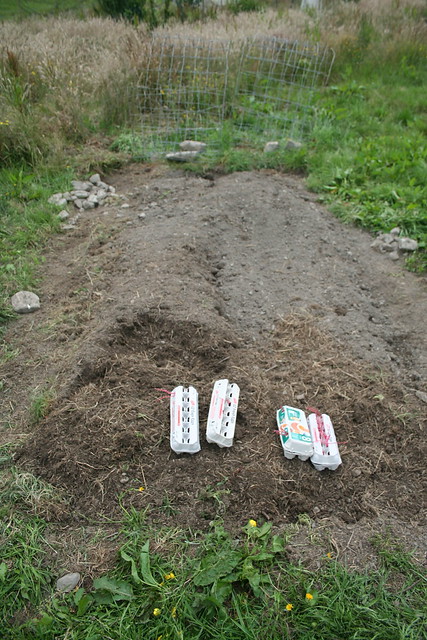
2016-01-07: The bed has been dug and 90% of the stones put aside.  The yams saved from last weeks harvest are sitting there in the egg cartons.  They're survived the Winter pretty well, and the ones with cuts or damage were dipped in ash which seemed to do the trick.

Yams - 2016-01-07 - 01 - Planting

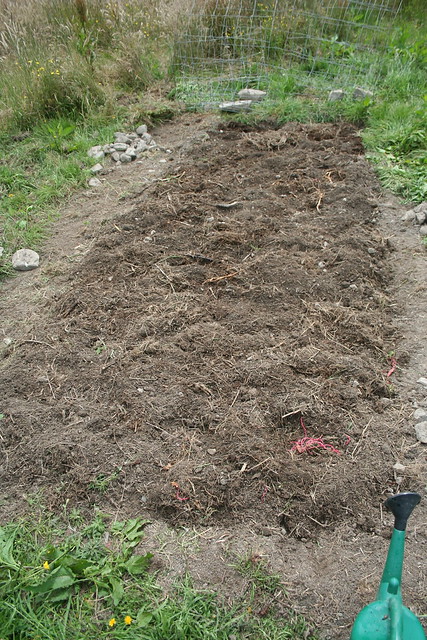
2016-01-07: The yams all planted out.

Yams - 2016-01-07 - 02 - Composting

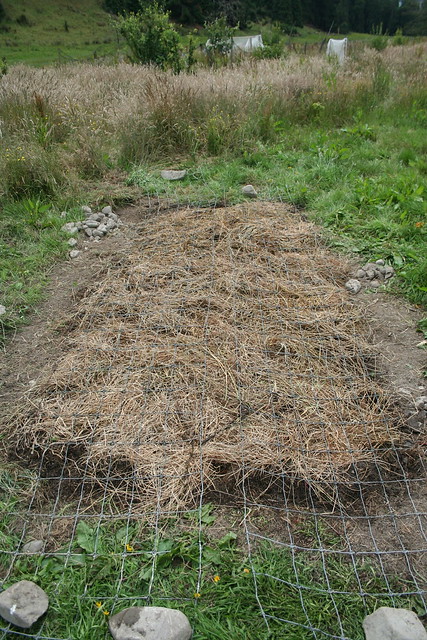
2016-01-07: The netting has been laid down to prevent the free-ranging chickens from scratching the beds out, and a covering of hay has been scattered over top.

Yams - 2016-01-07 - 03 - Chicken protection

The bed pre-harvest today.  Not bad looking considering the one time it was weeded, and perhaps two times it was watered.  The problem with weeding was that pulling out the grass or whatever the weeds were, would easily pull out the yam roots.  So it wasn't really possible to weed without damaging the crop.

Yams - 2016-06-19 - 01 - Beds

Just pulling the netting off pulled out some of the better yams.

Yams - 2016-06-19 - 02 - Digging

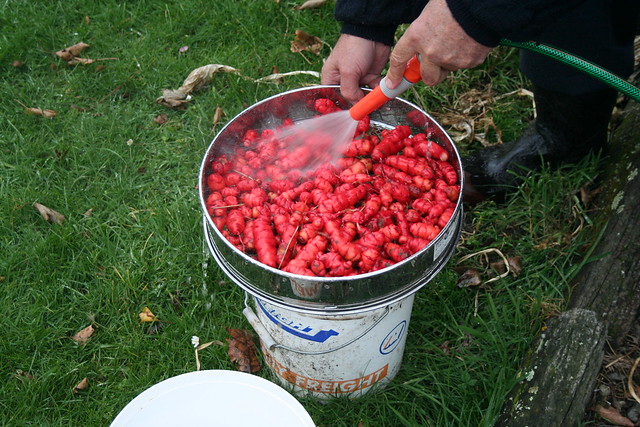
The recipient of the yams doing his own cleaning with the sieve I bought on recommendation from Rowan.

Yams - 2016-06-19 - 03 - Rinsing

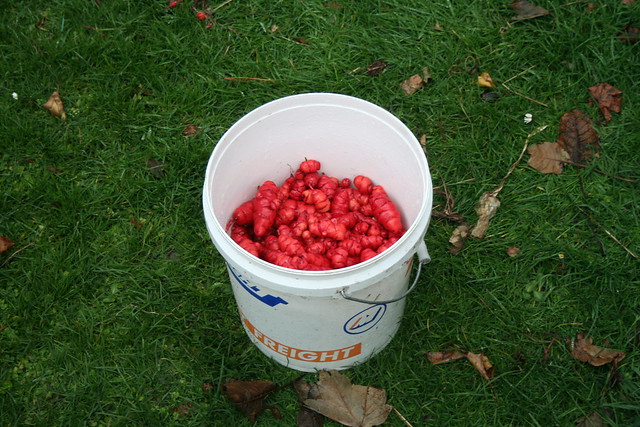
And the cleaned yams.  I picked out 12 of the best and put them in a cupboard in an egg carton for next Spring's planting.  I'll probably pick at least another two dozen as I harvest more.

Yams - 2016-06-19 - 04 - Washed

Not bad for just the effort of one light weeding, perhaps two waterings (the Spring, Summer and Autumn were not that dry here), and the harvest of course.

Wednesday, 11 May 2016

Broad bean (Fava bean) landrace year two

I was originally planning to plant garlic in most of these beds, but garlic ideally goes in on the shortest day of the year which I think is still a month away.  Broad beans however, when planted in the Autumn, are I am told best sprouted and a couple of inches high by the first frosts.  But not high enough to flower.  Last year I think I got them a bit late, and the odd seed popped out of the soil as the frosts hit them.

All of these beds are pre-existing ones, except for the one on the right with the stones alongside it.  Those stones came out of the ground as I was digging it.  There are two rows of two bean varieties in the two larger beds (front right and front left), and one row of two varieties in each of the three long beds behind.

The beds were not amended with anything other than a covering layer of home-made compost, and were prepared solely by breaking up the soil after removing the grass/weeds that had grown over them since Spring or whenever whatever was in them was harvested.  Two beans are planted together at each spot along each row, and the weakest will be either transplanted or discarded.  I used the English RHS planting recommendations, which I think were 60cm between double rows, and around 23cm between each of the rows in the double rows, and 20 cm between each planting in along a row.

Broad bean, Landrace - 2016-05-04 - 01 - Beds prepared and planted'

The selection criteria for now is whatever grows best, given no fertilisation other than the compost.  And as this is the second year all these varieties (around 10) have been grown alongside, there should ideally be some visible sign of cross-pollination.  Of course, they were completely neglected last year, so hopefully there was some cross-pollination.  In any case, I came out of last year with more seed than went into it, so it wouldn't be a complete loss if cross-pollination between varieties is poor.

I'm hoping to find the time to get a paint brush and hand-pollinate maybe the first five plants in each row, perhaps as a limited but doable experiment that doesn't require too much time investment.

Monday, 9 May 2016

Green Mountain Potato Onion

I quite like the idea of potato onions, as I understand them.

There are crops which are grown by giving people vegetables to replant, like potatoes for instance, where rather than getting seed to grow, you get given pre-grown tubers to plant, which sprout and grow more tubers.

One of these crops, is the potato onion.  From what I understand it was rare for them to go to seed, and seed just wasn't available.  Then they went to seed for one guy somewhere in the states, and he saved the seed, and gave some away or sold it.

Normally, when you plant a onion seed, it grows one onion.  So you need to plant at least as many seeds as you want to have onions to harvest.  The potato onion however, once it has grown, is supposed to split into multiple bulbs per plant.

I got sent some potato onion seed, which was imported from the USA via Australia.  I've grown out around 22 seedlings, which can be seen below.  This was a germination test, but I planted them out for the same of it and it can't hurt to see if they survive the upcoming Winter.  The green allium in the foreground is garlic chives.

Potato onion, Green Mountain - 2016-05-04 - 01

I plan to plant out a lot more in the Spring, with the intent of getting some to go to seed, so I can expand the amount of seed I have.

Monday, 3 August 2015

The water race and helpful chickens

I have a water race at the far end of my back paddock.  Somewhere uphill to the north, there's a river and some of the water is redirected down this water race.  The neighbours have animals grazing in their paddocks, and they just walk up and drink from it.   And through it, and back, and certainly defecate in it while they're there.

Unfortunately, as time passes it fills in with muck the animals send downstream, the clay at the sides eroding and water weeds growing on top, and it fills in. The end result is that the water is now at the level of the ground alongside the water race, and it floods areas of the paddock.  At this point it needs to be dug out.  If I had grazing animals in my paddock, I wouldn't have this problem. What I would have though, is grazing animals rubbing up against and breaking my orchard trees.

Here's a comparison shot which shows my dug out area on the left, and the overgrown area on the right.


The length I've cleared so far.  Really, in an ideal world I'd dig it all a meter wide all the way along, and I'd do it while it's all sodden from being flooded all the way along.  But in this world, the less hours I spend digging muck is better.


The area on the right-hand side between the olive tree and the water race, back to the fence was the where the worst of the flooding was.

What I really like though, is the brown area in the foreground.  It's where the chickens have scratched the grass clear and now there's hay on top of powdery dirt.  This is a huge advantage to me for the upcoming spring, as it means I don't need to clear grass to make new garden beds.  The area ahead will likely be used to plant bloody butcher corn or a range of broad bean varieties.  While they've scratched up that area all on their own, I might see if I can start sections in the foreground and get them to clear more of that area.


Here are the chickens at work scratching up another area of grass they've already cleared pretty well.  This area and all around where I am standing to take this photo will likely be where I plant a wide range of pumpkins, all of which are cucurbita maxima varieties.


Some time in the coming week, the chickens will be getting treated with diatomaceous earth.  This involves putting them up to their necks in a pillowcase, and shaking the pillowcase around them.  Classic internet advice.  Maybe it will work, or maybe it won't.

Saturday, 24 January 2015

Rhubarb 2014-2015

The last garden bed I grew rhubarb in, grew two great crops.  Large luscious leaves both times.  The first time it rained hard, they sat in the water which pooled around their bed for days on end, and the leaves and stalks wilted.  They they grew back, and the second time the chickens accidentally sampled a leaf and decided they loved it.  Just like that, the rhubarb had leaves one day, and none the next.  The stalks wilted before I could harvest them.


Last year, I broke up the crowns and planted them out in a hugelkultur bed alongside the water race, fenced along the front and sides with chicken netting.  They didn't grow for ages, well into Spring.  Along the way I wondered whether my choice to lay old wood under the bed was hindering their growth, and the chickens worked out how to walk around the back and in, to scratch the bed out.  I fenced the back, and left it.  No watering, except for watering it in.


Now it's looking lush.  If it rains, the water will drain off into the water race.  One of the stalks was broken, so I picked it and offered the leaves to the chickens.  They may be stupid, but they are great at recognising things they like eating.


They've taken to drinking from the water race, rather than the water I put out for them with vinegar and minced garlic cloves in.  "Internet advice" has it that the rhubarb leaves will kill worms in their stomachs, probably randomly inspired by the fact that the leaves are poisonous to us humans.  I'd love to know for sure, as otherwise I'd probably make rhubarb leaf tea out of them, as a fertiliser.

Tuesday, 20 January 2015

Opium poppy seed harvest

This year, the opium poppies I planted didn't come up.  I suspect the chickens scratched over the beds where I scattered the seeds, and destroyed any germinating seeds before they had a chance to come up.  Luckily, the ones I left to their own devices last year self-seeded.

Poppies growing in wheelbarrow last year:


Self-seeded seedlings coming up in October 2014:


Live poppy straws and seed heads, after flowers petals have dropped, late December 2014:


Dead poppy straws and seed heads January 2015 that remain after my occasional harvest:


Harvested poppy seed heads, pre-seed removal.


Final poppy seed "crop":


All in all, harvesting maybe 50 seed heads, I ended up with a hefty bag of poppy seeds weighing in as shown, at 105 grams.  Removing the seeds from the seed heads is a matter of holding the straw ends and simply upending them and shaking them over a container.  If I had to harvest them on a larger scale, I'd simply get a supermaket bag, turf the cut heads into it, give it a good shake and then pull out the heads one by one making sure all were empty.

Buying them in the Greggs boxes at the supermarket, you purchase them at $2.29NZ / 40 grams.  So, at supermarket rates of 0.57c / 10 grams, my seeds would cost $6 NZ.

I invested no time at all in growing these poppies, and perhaps less than 5 minutes harvesting the seeds.  The only problem might be if they spread throughout your garden, but there are worse problems to have.  What I should have done differently is tagged the plants with the red petals, and save the seeds from those to sow for next year.

Tuesday, 30 September 2014

Garden Beds

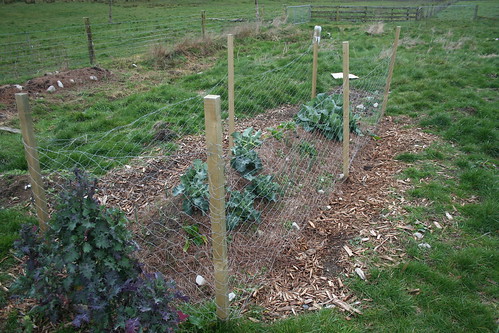
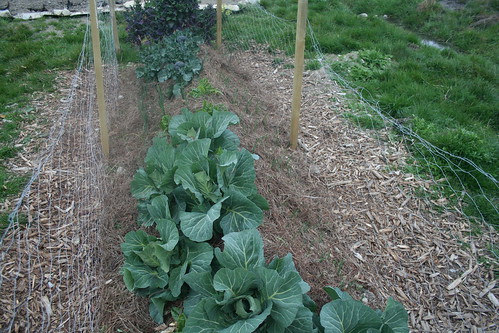
Two photos over half a month of my paddock hugelkultur bed #1. It isn't obvious but these have really taken off, and the brocolli is likely as big as it's going to get. Not sure how to tell when it is ready to pick.

Garden Bed, Paddock NW - 2014-08-13

Garden Bed, Paddock NW - 2014-08-29

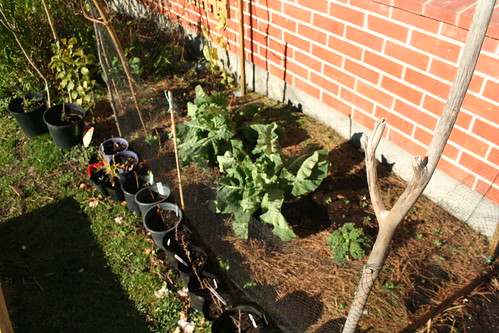
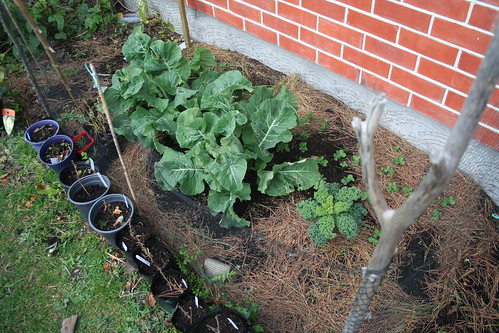
Two photos over half a month of my house north garden bed. You can see how much the peas, kale and cauliflower have taken off. The seaweed tea helped a lot with that, as well as.. watering the obviously dehydrated cauliflower.

Garden Bed, House North - 2014-07-31 - 01

Garden Bed, House North - 2014-08-13 - 01

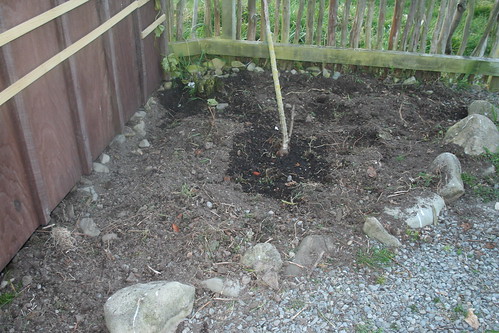
And finally, I cleared my hut corner garden bed. This is where I am going to plant a herb garden.

Garden Bed, Hut Corner - 2014-09-02

Monday, 8 September 2014

More Hugelkultur Garden Beds

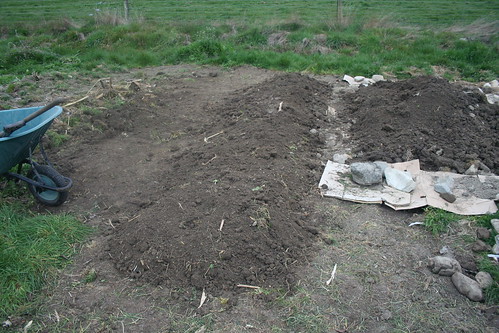
In an ideal world, all my garden beds would have been prepped last Autumn. But it was cold and wet, and.. it never happened. So at the start of Spring, I've been digging out and clearing some more hugelkultur beds where my corn patches used to be.

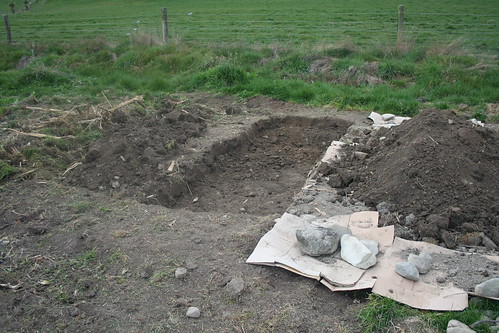
This is the paddock hugelkultur bed #2. Most of the soil here was taken out, mixed with a ute load of purchased compost, and put in a raised bed by the house. Filling with wood and then covering with soil followed this photo.

Garden Bed Preparation - Field - 2014-08-13

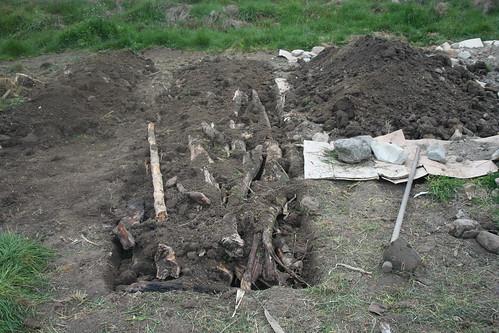
A later photo, showing newly dug and filled paddock hugelkultur beds #2 and #3, and beyond that fenced #1. The bordering with cardboard was intended to catch dirt while working, and is not a good approach long term in my opinion. The grass grows around it and pushes it up. You can also see clearing in preparation for subsequent beds closer to the camera.

Garden Bed Preparation - Field - 2014-09-02 - 05

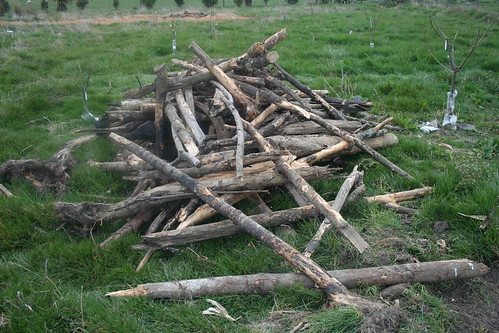
Three ute loads of wood from the neighbours "burn piles", ready for digging #4. You can see borage growing in the back right corner of the pile, this is one of the few things that I can identify as having grown from the Koanga herbal ley seeds I scattered last year (and never saw any sign of).

Garden Bed Preparation - Field - 2014-09-05 - 01

The easy part of #4 dug out, where it overlaps the past year's corn patch. The intention is to make it longer where I have the space. #3 has a plum or quince tree planted beyond the corn patch area, which is why it ends up shorter.

Garden Bed Preparation - Field - 2014-09-05 - 02

#4 filled in with wood, and with a partial dirt covering. It by this point was dug out to an extended length.

Garden Bed Preparation - Field - 2014-09-05 - 03

And finally the finished #4 bed. Note that #3 still has an excess of soil from where wood in #4 displaced it, this will be shared between all the beds.

Garden Bed Preparation - Field - 2014-09-05 - 04

It takes maybe three hours to do this, but most of the work is already done because the soil in the past year's corn patches has been previously dug up. Parts like the extended area have never been dug, and are hard and contain stones making them much more work.
Friday, 18 July 2014

Garden Bed / 2013-2014 / Clothesline

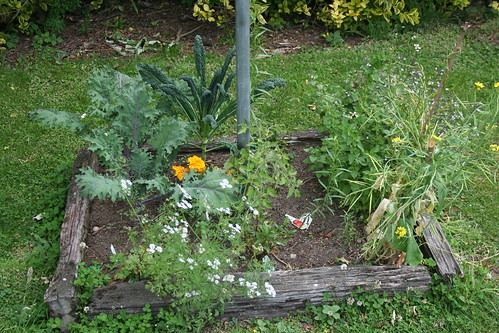
Planted out Red Russian and Cavolo Nero Kale. Also Runaway Rocket. And coriander, protected from lying on the ground and the wind, by a milk container. Initially this bed under my clothesline (something I hear is illegal to use in other parts of the world), was covered in Oregano. Oregano tastes like pencil shavings by the way. If you don't have any oregano to put on your food, just sharpen a pencil over it. Don't worry, the lead in the pencil is graphite, not real lead.

Garden Bed, Clothesline - 2013-11-08

8 days: Some initial obvious growth, even by this point.

Garden Bed, Clothesline - 2013-11-16

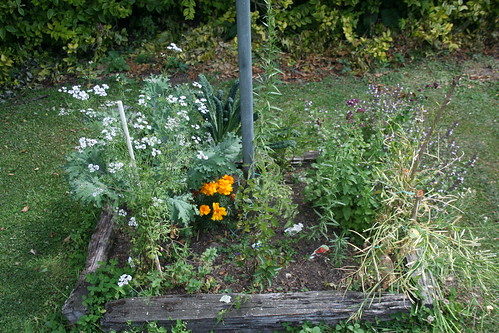
44 days: Looking lush. At some point, a Chocolate Mint has been planted in front. And a Stevia in back. The disgusting Oregano is growing back. This stuff is a weed, and people say mint is bad..
Garden Bed, Clothesline - 2013-12-22

69 days: The Kale at this point is producing more than I can eat. The coriander and rocket are flowering, and rocket seed pods are already present. I ended up saving the seed from both, and have since grown more of each from it this winter.

Garden Bed, Clothesline - 2014-01-16

85 days: Just more growth. Some self-seeding tarragon I think, has popped up. Probably tastes like pencil shavings too.

Garden Bed, Clothesline - 2014-02-01

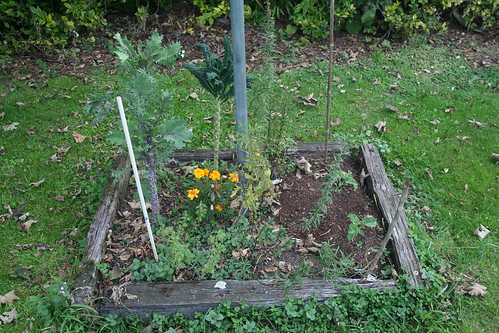
141 days: The coriander and rocket were pulled out by now, and hung to dry. The oregano was pulled out, but it grew back later of course.

Garden Bed, Clothesline - 2014-03-29

The bed now has some fresh rocket sown from the saved seed. It also has two Curly Kale planted, and the Stevia has gone to seed. If the seed is viable, which I am not sure about given it is my only Stevia plant, I'm going to make a vodka based sweetener from it, when I get enough growing. People talk about drying it, and sprinkling the ground dry matter, but it doesn't dissolve. So you get just get grit, and even then it doesn't sweeten anyway. I tried drying a few leaves and adding them to a pot of porridge. It didn't do anything.